Scott Berkson
Last updated: 24 January 2026
From the main Boostie app, look at the left-hand navigation and click Capture.
At the top of the Capture page you’ll see two tabs:
Job Alert Subscribers – a running list of new subscribers.
Job Alert Settings – where your customization controls live.
Click Job Alert Settings to begin.
Click Edit Job Alert Settings on the right side of the page.
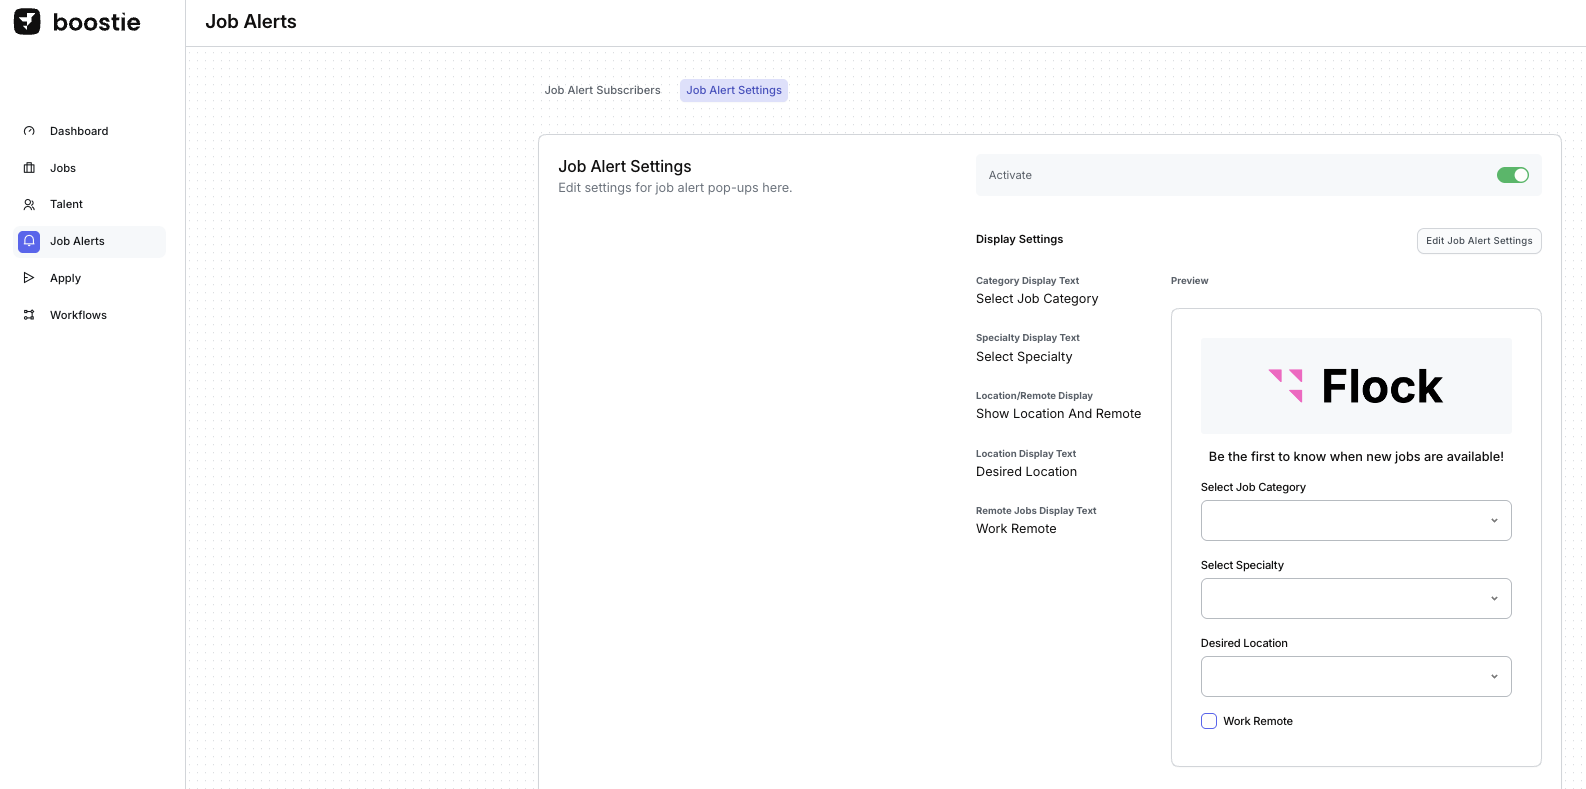
This opens the full configuration panel where you can control the text labels, triggers, and display rules for your Job Alerts form.
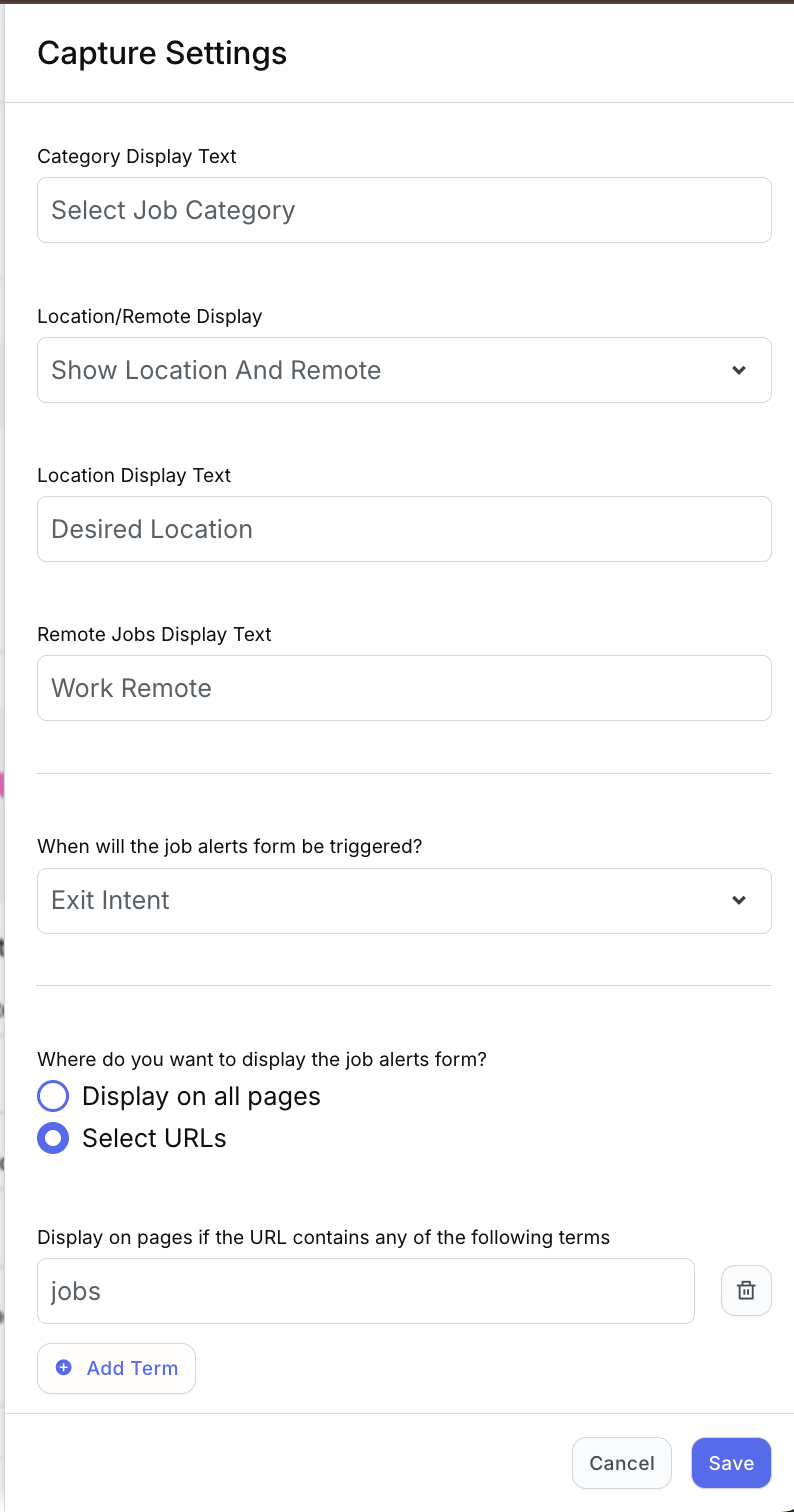
Category Display Text defines how you want job seekers to choose the broad area of their job search. Examples: Accounting, IT, Healthcare, Hospitality, etc.
These Categories come from your previously configured settings in Settings → Categories. If you need a refresher, your Categories help article is here.
You can rename the field label to match your brand or industry. For example:
Select Job Category
Career Discipline
Area of Expertise
You have full control over:
Whether to show Location Only, Remote Only, or Location + Remote
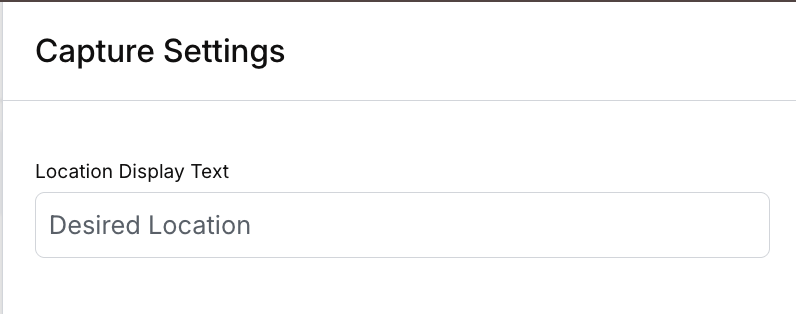
The display text that appears to applicants (example: “Desired Location”)
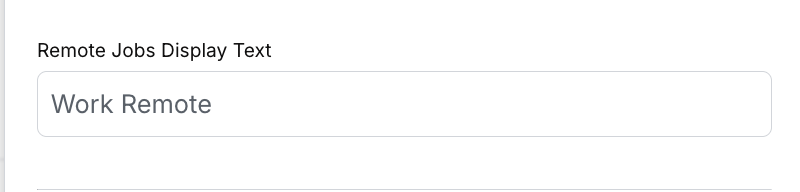
For Remote Jobs Display Text, choose terminology that fits your business tone - “Work Remote,” “Remote Options,” or anything you prefer.
Job Alerts is a powerful conversion tool - similar to e-commerce exit-intent pop-ups. When someone is browsing jobs but starts to leave, Boostie can step in and offer a simple job alert subscriber form.
This gives candidates one more chance to engage, even if they aren’t ready to apply. When they subscribe, Boostie will automatically send them relevant job alerts based on their preferences.
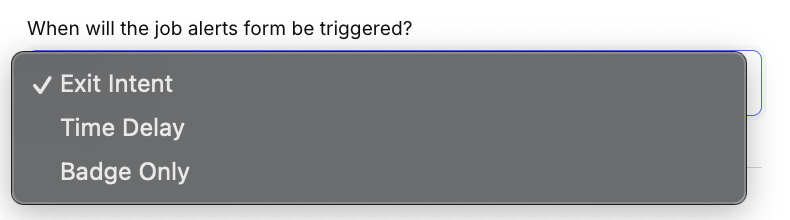
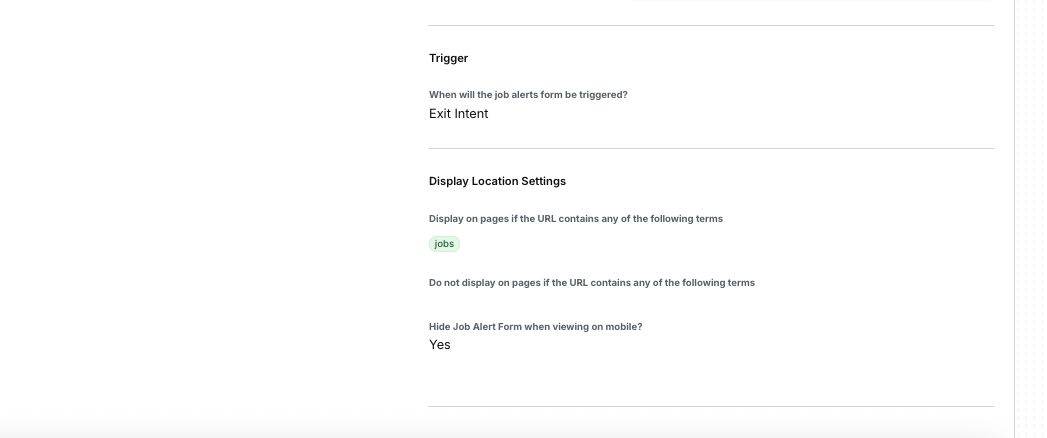
You can choose from three triggers:
Exit Intent – Show the form when a visitor is about to leave the page
Time Delay – Show after a set amount of time
Badge Only – Only show when someone clicks your Job Alert badge
You have two options:
Display on all pages – Job Alerts appear everywhere on your site
Select URLs – Only display Job Alerts on specific pages you define
..
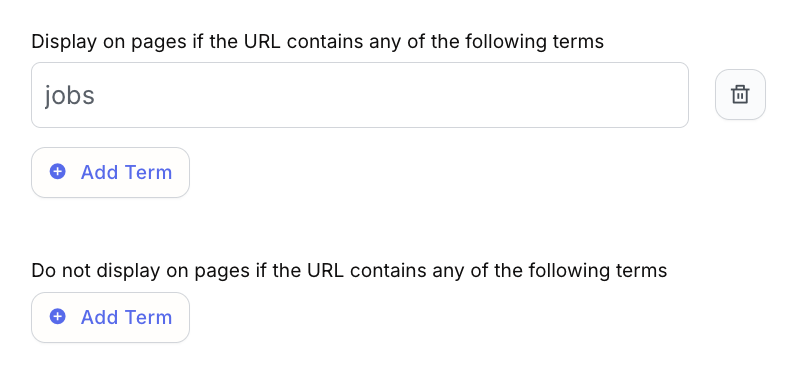
To customize where the Job Alerts form appears, add keywords for URLs you want Boostie to detect and keywords for URLs to exclude. Remove terms by clicking the garbage can icon if needed.
Depending on how your audience behaves on mobile, you can choose to:
Show Job Alerts on mobile, or
Hide Job Alerts on mobile (if you prefer a simplified experience)

This is entirely your choice - Boostie will honor whichever you select.
Lastly, Click Save to apply all updates on your Job Alerts Settings slide out.
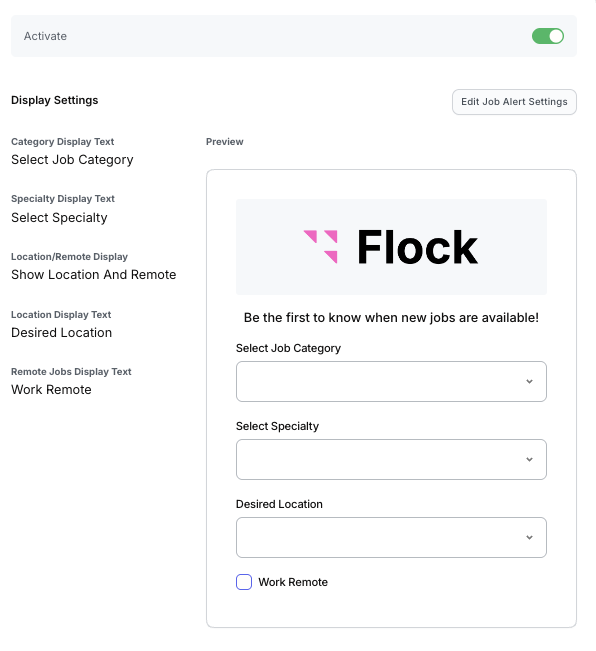
As you update your Job Alerts Settings, the Preview on the right side updates in real time so you can see exactly what job seekers will experience. This includes:
Display text for:
Category dropdown
Location dropdown
Remote preferences and toggle
...Learn how Job Alerts performance is measured in your Dashboard by clicking here.
Once your settings look right, you’re ready to launch Job Alerts. Before you leave the page, make sure to:
Toggle the Activate switch to ON (green) so Job Alerts becomes live on your site.
After activation, Job Alerts will immediately begin converting more visitors into subscribers and feeding those insights into your Boostie dashboard.