Scott Berkson
Last updated: 24 January 2026
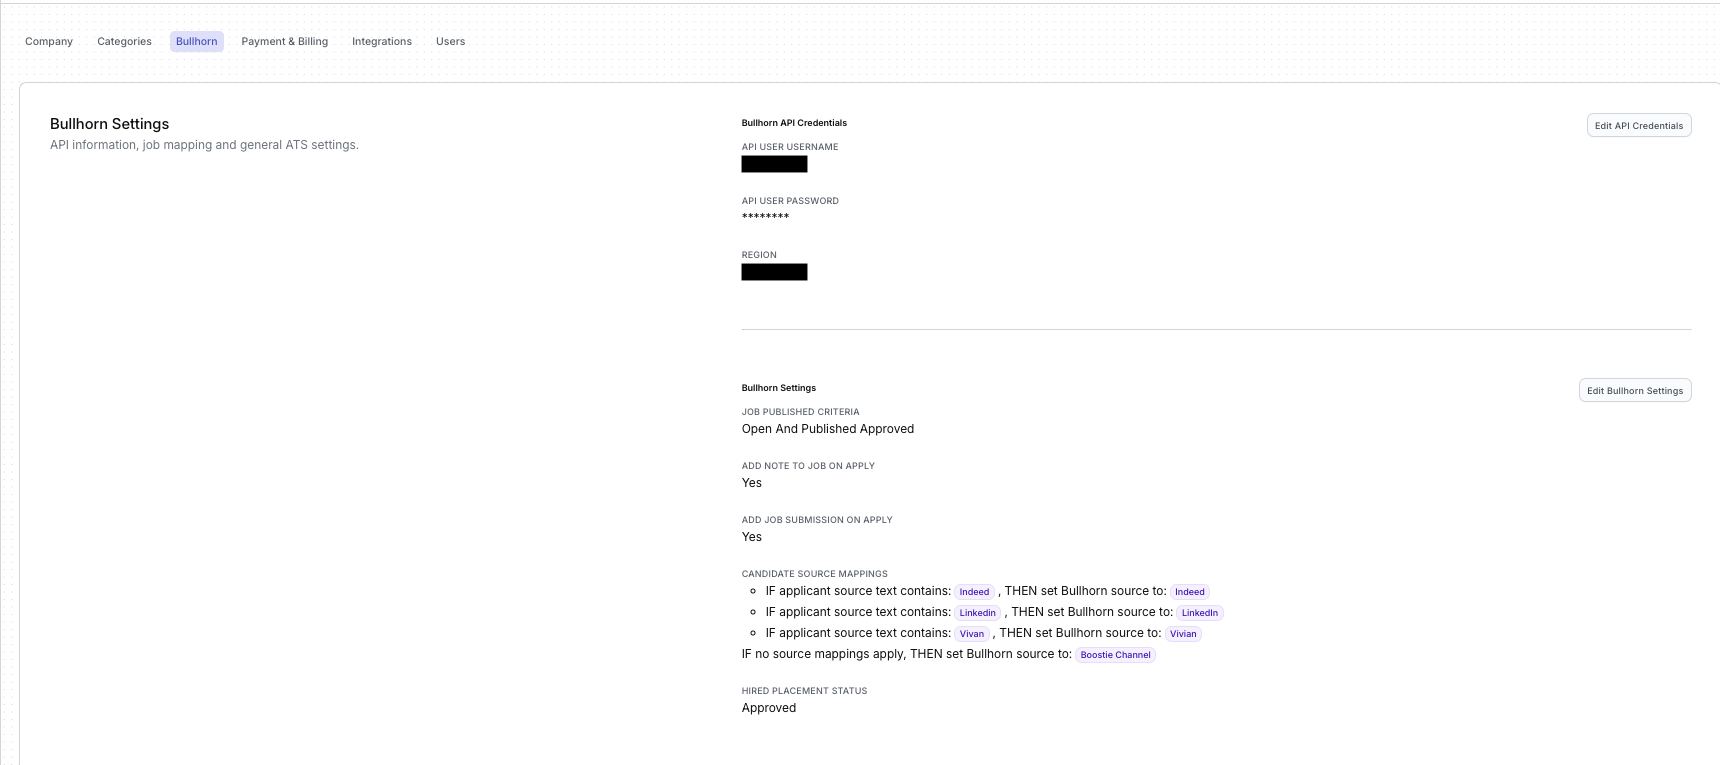
The Bullhorn Settings section is where you connect Boostie to your ATS and define how jobs, applicants, and source values flow between the two systems. Once configured, this connection allows Boostie to sync jobs, track applicants, add notes, submit candidates, and power your analytics.
From your name dropdown in the top right corner of Boostie scroll down to Settings.
In Boostie, go to Settings → Bullhorn.
Click Edit API Credentials.
Contact Bullhorn Support and request API credentials for Boostie.
Paste the username, password, and region into the slide-out.
This connects Boostie to your Bullhorn environment so we can sync jobs and candidate activity in real time.
Click Edit Bullhorn Settings to open the slide-out and manage how Boostie interacts with Bullhorn.
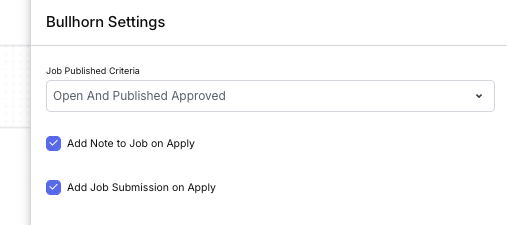
Choose which jobs Boostie should treat as publishable based on your Bullhorn workflow (e.g., open jobs only, or open + approved for publishing).
Enable this if you want Boostie to automatically add a job note when a new application comes in.
Turn this on if you want Boostie to automatically create a Job Submission for each applicant, ensuring consistent Bullhorn data and saving recruiter time.
Candidate Source Mapping lets Boostie translate the incoming source text into the correct Bullhorn source value.
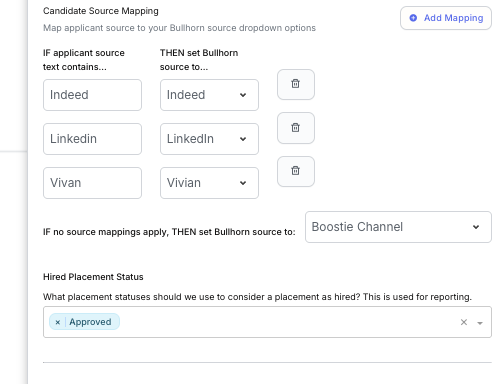
In this section:
On the left, enter the source text Boostie might receive (example “Indeed,” “LinkedIn,” “Vivian”).
On the right, choose the matching Bullhorn Source value from the dropdown.
Click Add Mapping to create new rows.
Press the trash can to delete a mapping.
At the bottom, choose a default Bullhorn source for cases where no rules match.
This ensures all applicants are assigned a clean, standardized source value in Bullhorn.
Choose the Bullhorn Placement Status that represents a successful hire for your organization (example: Approved). Boostie uses this value to track hires and fuel your reporting and analytics.
Once everything is configured, click Save to apply your updates.
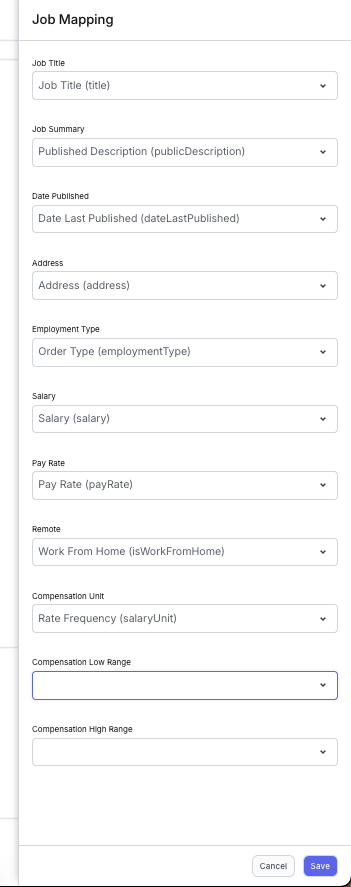
The Job Mapping section controls how Boostie reads your Bullhorn job data and transforms it into the job postings Boostie creates. Mapping these fields correctly ensures your job content is accurate, complete, and displayed the way you expect inside Boostie.
Click Edit Job Mapping to open the slide-out panel.
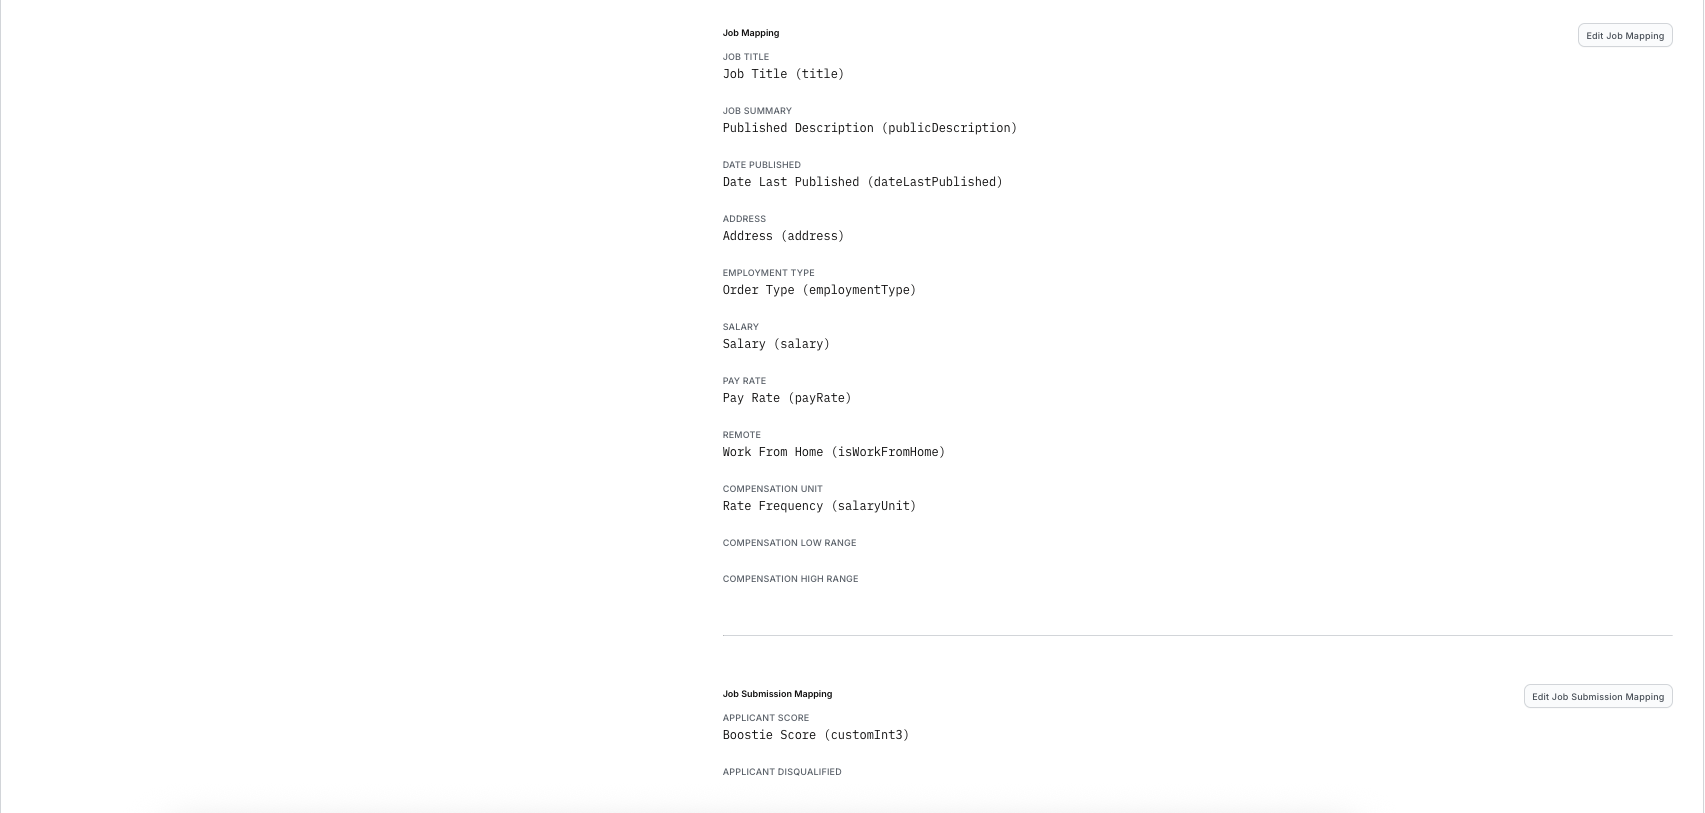
Inside the slide-out, you’ll see a list of Boostie job fields (shown in bold above each dropdown).
For each one:
Select the corresponding Bullhorn field from the dropdown.
Make sure the field you choose contains the correct data in Bullhorn.
Example: For Job Title, choose the Bullhorn field that actually stores your job’s title not an internal reference field or alternate text.
This ensures Boostie posts your job with the correct title, description, pay, and other key details.
Boostie allows you to map both:
Single-value pay fields:
Salary
Pay Rate
…and…
Compensation range fields:
Low Range
High Range
If both the single-value pay fields and the compensation range fields are filled in:
Boostie will use the compensation range fields and override the single-value fields.
This helps ensure job postings display a complete range if one exists.
When finished, click Save to apply the mapping.
Your Boostie job postings will now automatically populate with the correct Bullhorn data.